
If you think apps on the Play Store and App Store are only for hobby or for a portfolio, you are wrong. Many apps are real businesses. Some small tool apps earn a few dollars a month. Some popular apps earn thousands of dollars a month. The difference is not luck alone. It is a useful idea, real users, and ads placed in the right way.
In the era of AI, this work has become much easier. You do not need to be a senior coder to start. You can turn your idea into an app almost like playing a game, because AI can help you plan it, write it, fix it, and improve it. Then you put it on the Play Store and App Store, connect AdMob, Facebook Ads, and Unity Ads, and earn from those ad networks when people use your app.
This guide shows the full path in order. Read it slowly. Follow one step at a time. Do not jump to ads before your app works well.
A clear warning first. No app earns money by itself. No guide can promise you thousands of dollars. Earnings depend on downloads, how often people open the app, where users live, and what type of ad you show. All figures in this guide are before tax. Policies and prices change, so always check the official page before you pay or publish.
What kind of app can you make
Your app does not have to be big. In fact, small and clear is better for your first app.
Here are simple types that work for beginners:
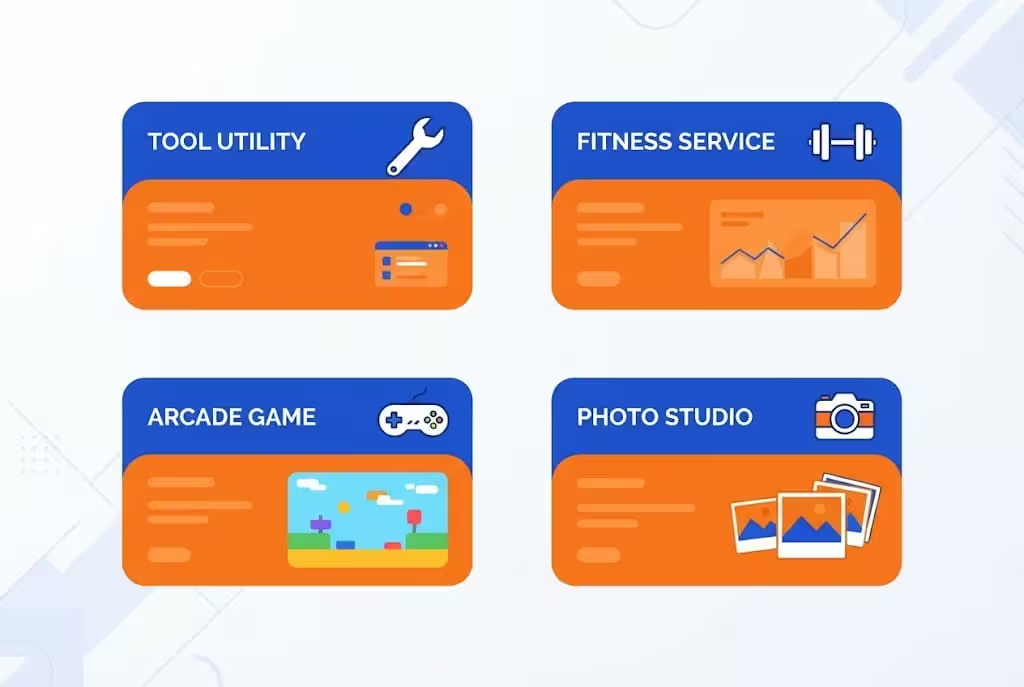
- Tool apps. A photo resizer, an image compressor, a QR code maker, a unit converter, a notes app, a habit tracker, or a budget tracker. People open these tools again and again because they solve one small problem fast.
- Service apps. A gym app with workout plans and a timer, a salon price list and booking form, a local service list, or a simple shop app. These apps help a real business or a real need.
- Game apps. A simple puzzle, a quiz game, a memory game, or a tap game with levels. Games earn well with rewarded ads, because players choose to watch an ad to get coins, lives, or extra moves.
- Editing apps. A simple photo editor, a video trimmer idea, a background remover, or a text on photo tool. Keep the first version simple. One strong feature is better than ten broken features.
Pick one idea. Finish it. Then make the next one better. Ten half finished apps earn less than one good app that people actually use.
Step 1: Find an idea with a gap and low competition
Do not start with coding. Start with research. This step saves you months.
Open Google Play and the App Store. Search your idea in simple words. For example, search gym workout at home, photo background remover, or daily expense tracker.
Now ask these questions:
- How many apps already do the same thing? If the first page is full of apps with millions of downloads and high ratings, that idea is hard for a beginner.
- What do users complain about in reviews? Read the 1 star and 2 star reviews. Users tell you the gap for free. They say the app is slow, it has too many ads, it needs login for a simple tool, or it has no offline mode. Your app can fix that one problem.
- Can you make it simpler? Many top apps are heavy and confusing. A simple, fast, and clean version can win users who want only one job done.
- Is there a small group you can serve first? Instead of a fitness app for everyone, make a home workout app for beginners with no equipment. Instead of a photo editor for everyone, make a photo resizer for shop owners who post on social media. A small group is easier to reach and easier to please.
Write down 10 ideas. Score each idea from 1 to 5 for need, simplicity, and low competition. Pick the idea with the best total score, not the idea you like the most. If two ideas are close, pick the simpler one for your first app.
A good test: can you explain your app in one line? For example, this app helps beginners do a 10 minute home workout without equipment. If you cannot explain it in one line, the idea is still too big. Make it smaller.
Step 2: Get your free setup ready
You can start with almost no money if you use free tools the right way. Do this setup before you build, so you do not stop in the middle.
Free domain and hosting
A domain is your website name. Hosting is the place where your website files live.
If you are a student, apply for the GitHub Student Developer Pack with your own school email or your own student document. It is a free bundle for verified students. It can include a free domain for one year, GitHub Pro, and partner offers. Offers change, and some partner offers turn paid after the free period, so read each offer before you add a card. Use only your own documents. Never use another person's student card.
If you are not a student, start with a free hosting plan and a free subdomain. You can buy a proper domain later, after your app starts earning. Do not spend money on a big plan before you have users.
For free hosting, beginners often use Vercel, Netlify, Cloudflare, or Firebase free tiers. Pick one. Put your website there. Test it on your phone. If it loads fast on mobile data, you are ready.
Free AI tools to build with
You do not need one perfect AI tool. You need a simple system.
- DeepSeek is free on web and app for chat and coding help. It is strong for reasoning through code and fixing errors.
- Gemini is free with a Google account. It is useful for planning, writing, and checking ideas, and it works well with Google tools.
- Claude has a free tier to start. It is useful for clean writing and careful code help.
- Muse is free to start through its own site and waitlist. Check the official site for current availability in your country. Use your own account and your own documents. Do not try location tricks, age tricks, or another person's documents.
Use AI like a helper, not like a boss. Ask AI for a plan first. Then ask for code. Then test the result yourself. If something breaks, copy the error message and ask AI to fix that exact error. Save a backup copy every time the app works. That backup will save you when a new change breaks everything.
Never paste passwords, API keys, or private user data into any AI chat. Keep those secrets in your own safe place.
Useful links:
- GitHub Student Developer Pack: https://education.github.com/pack
- DeepSeek: https://chat.deepseek.com
- Gemini: https://gemini.google.com
- Claude: https://claude.ai
- Muse: https://muse.ai
Step 3: Build the website form of your app using AI
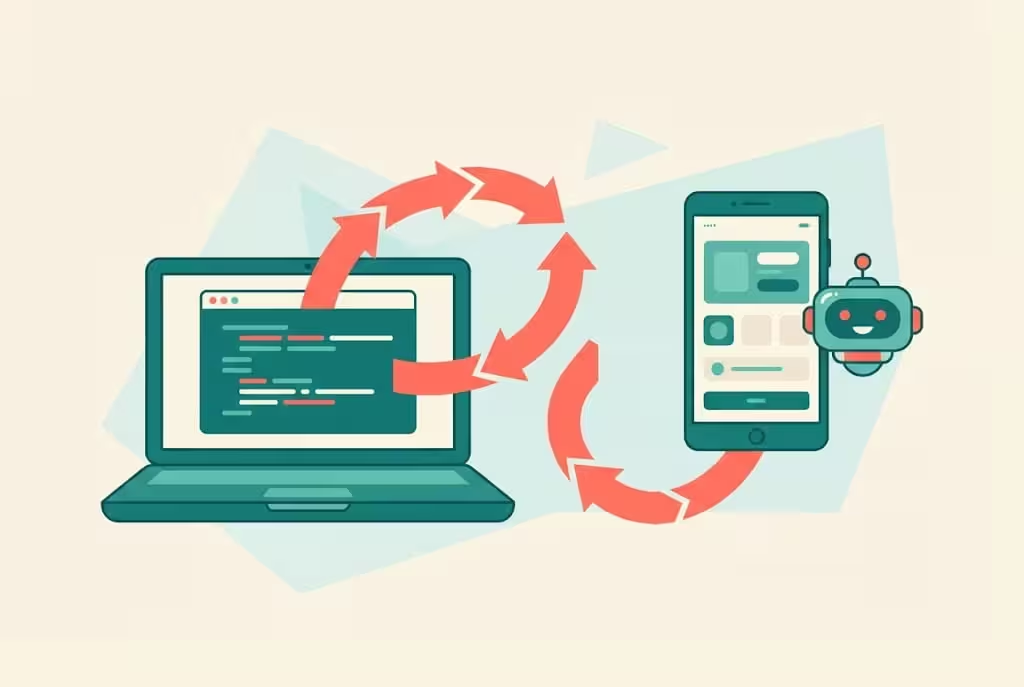
Here is the smart path most beginners miss. Do not try to build a store app on day one. First build your app as a website. A website is easy to test, easy to fix, and easy to turn into an app later.
Think of it like this. Your website is the body of the app. The converter in the next step only puts a phone cover on it.
Tell AI exactly what you want
A vague prompt gives a vague app. A clear prompt gives a usable app.
Use a prompt like this, and change the words in brackets:
Build a mobile friendly single page web app for [your idea]. The home screen must have [feature 1], [feature 2], and [feature 3]. Buttons must be big and easy to tap. The design must be simple and fast. Save user data in the browser only for the first version. Do not ask for login. Add a simple privacy policy page and a contact page.
Example for a gym app:
Build a mobile friendly single page web app for beginners who work out at home without equipment. The home screen must have a 10 minute workout list, a workout timer, and a simple progress tracker. Buttons must be big and easy to tap. Save progress in the browser only. Do not ask for login.
Build in small rounds
- Round 1: Ask AI for the basic app. Test every button on your phone.
- Round 2: Fix what is broken. Ask AI to fix one problem at a time.
- Round 3: Make it fast and clean. Remove extra screens. Remove extra text. Make the main button easy to find in 3 seconds.
- Round 4: Add a privacy policy page, an about page, and a contact page. Stores and ad networks need these.
Test on a real phone, not only on a computer screen. Check on mobile data, not only on WiFi. If a button does not work, do not move on. Fix it now.
Your first version should do one job very well. You can add more features after users tell you what they want.
Step 4: Turn your website into an app
Now you paste your website link into a website to app converter. The converter wraps your website in an Android app shell. You get an APK file for Android testing, and an AAB file for Google Play. APK is the file you install directly on an Android phone. AAB is the file Google Play wants for publishing.
Here is the list from our earlier research, grouped by cost. Prices change, so check the official page before you use one in a paid plan.
Free converters
- FreeWebToApk: https://freewebtoapk.com Free, unlimited APK and AAB, no signup and no watermark on the site listing. It also lists AdMob banner, interstitial, and rewarded ads.
- MakeWebsiteToApp: https://www.makewebsitetoapp.com Free tier builds a signed APK with no watermark and no card. It has a short cooldown between builds, a 5 MB upload limit for HTML and ZIP, and APK only output on the free tier.
- AppsGeyser: https://appsgeyser.com/appmaker/ Free APK build and download. The free plan includes an AppsGeyser banner and advertising inside the app. You upgrade to remove them.
- Web2App: https://web2app.autobot360.com Free APK builds, debug and signed release, with no card and no branding added on the free plan.
- AppCrafto: https://appcrafto.com Free forever for 1 Android app, with unlimited APK builds and 1 AAB build, with AppCrafto branding. Paid plans remove branding and add iPhone builds.
- OpenAlly Web to App: https://openally.ai/product/web-to-app Free on every plan. It builds a signed APK and an AAB for Google Play. It is Android focused, not iPhone.
- WebTooAPK: https://webtooapk.com Free converter with AdMob built in. You add banner and interstitial ads by entering your AdMob App ID and Ad Unit IDs.
Free trial and freemium converters
- Appy Pie: https://www.appypie.com/convert-website-to-apk Test build free during a 7 day trial. Publishing to Google Play needs a paid plan.
- WebInto.app: 7 day free trial, with one time licenses listed for one app and for unlimited apps.
- WebsiteToApp: https://websitetoapp.app Free plan gives a small number of test builds with a watermark and a trial limit. The Android premium plan is a one time payment per website.
- Median.co: Free plan with branding, then a one time activation fee plus a yearly fee on paid plans.
- AppMySite: Free Android build on the free plan. Paid plans depend on whether you want Android only or Android plus iPhone, so check the current pricing page.
- Twinr: Free version and paid monthly plans for Android and iOS builds.
- Appilix: One time pricing, not monthly, with a 15 day free trial and no credit card for the trial in the listing.
Paid one time converter
- Web2APK Builder Pro: https://graphicfort.com/codecanyon/item/web2apk-builder-convert-any-website-to-android-apk-no-coding-required/62310480 A Windows desktop app that converts a website URL or local HTML project into a signed APK or AAB.
How to use a converter the right way
Paste only your own website link. Never convert another person's website. Stores reject that fast.
Set a clear app name, a clean icon, and a splash screen. A splash screen is the first screen users see while the app loads.
Turn on useful app features if the converter offers them, such as push notifications, native navigation, and an offline screen. A plain website in a frame feels like a browser, not an app. Stores notice that difference.
Test the APK on your own phone first. Open every screen. Tap every button. Fix problems on the website first, then rebuild the app. Do not try to fix the app file directly if you do not know Android code.
For your AdMob plan, pick a converter that clearly lists AdMob support, such as FreeWebToApk or WebTooAPK, or use a native build path where you can add the AdMob code yourself. A converter that only shows your website will only show ads that are already on your website. It will not magically add native AdMob ads inside the app shell unless it has that feature.
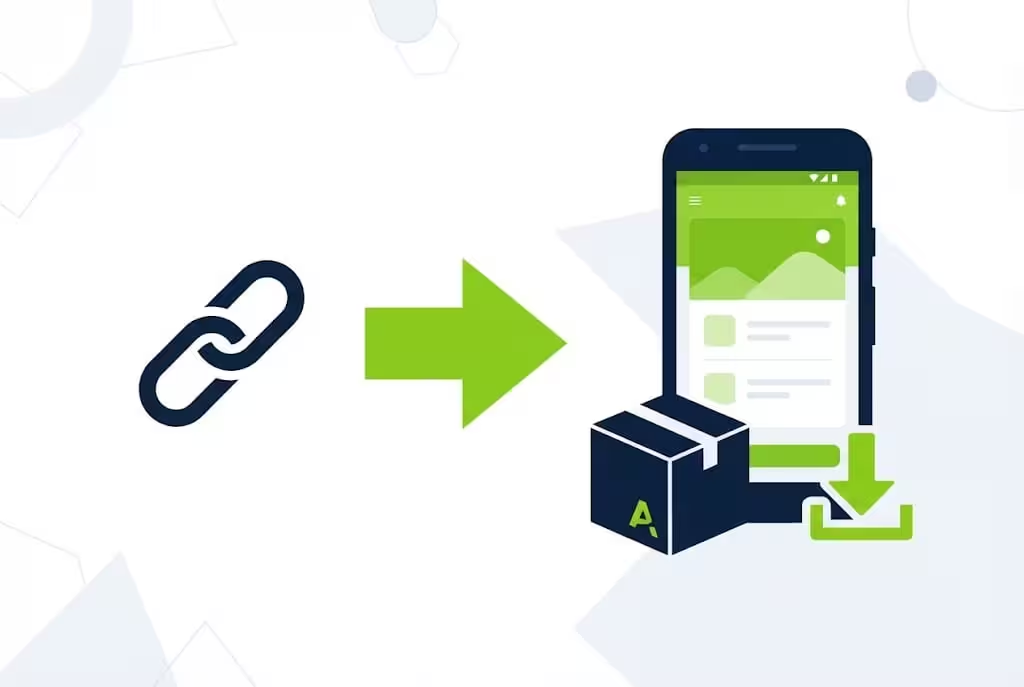
Step 5: Publish on Google Play and the App Store
This is the step where many beginners get rejected. The reason is usually simple: the app is broken, it is only a website with no app features, it has no privacy policy, or the listing is not honest. Follow the rules and your chance goes up a lot.
Google Play
Create a Google Play Console developer account. The fee is 25 dollars, paid one time for the account, not per app. There is no yearly renewal for a standard Play Console account.
If you have a new personal account, Google also asks for a closed test with at least 12 testers for 14 days in a row before you can apply for production access. Find testers early, from friends, family, classmates, or your small audience. Testers must actually open and use the app. If the number drops below 12, the time can reset.
For Google Play, you upload an AAB file, not an APK file. You also need:
- A clear app name, icon, screenshots, and description that match what the app really does.
- A privacy policy link on a public working page, and the same policy inside the app.
- A Data safety form that honestly says what data your app and its ad SDKs collect and share.
- A working app with no crashes, no blank screens, and no fake buttons.
- A demo login for the reviewer if your app needs login. Do not leave the reviewer stuck at a login screen.
Google does not allow apps that only have limited functionality and content. It also does not allow apps whose main purpose is to drive traffic to a website, or to show another person's website without permission. Your app must add value beyond a browser. Push notifications, native navigation, offline screens, and a fast mobile design help a lot.
Useful link for Play Console signup: https://play.google.com/console/signup
Apple App Store
For the App Store, you need an Apple Developer Program membership. The fee is 99 dollars per year. One membership covers all your apps, but you must renew it every year to keep your apps live.
You create the app record in App Store Connect, upload a build, test it in TestFlight, and submit it for App Review. A first review often takes a few days. Updates are usually faster, but review time is never guaranteed.
Apple also requires a privacy policy link in App Store Connect and inside the app, plus privacy details that match what your app really collects. Apple rejects apps that are only a repackaged website. Your app must go beyond a website, with real app features and a complete experience.
If Apple is too costly for your first app, start with Google Play only. Earn, learn, and then add Apple later. Many beginners do Android first for this exact reason.
Cost summary for both stores in the first year
| Store | Cost | How often |
|---|---|---|
| Google Play | 25 dollars | One time |
| Apple App Store | 99 dollars | Per year |
| Both together, year one | 124 dollars | Year one total |
These are store fees only. They do not include a converter paid plan, a domain, or any ads you buy to promote your app.
Useful link for Apple Developer Program: https://developer.apple.com/programs
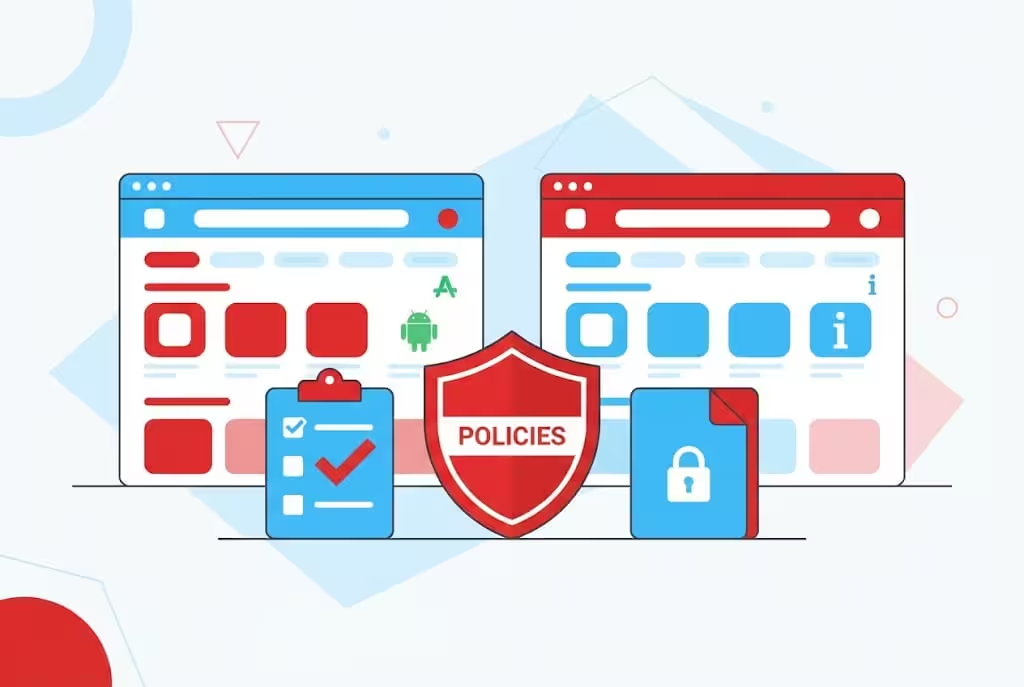
Store policies in simple words
- Be honest in your listing. Do not promise a feature your app does not have.
- Do not copy another app's name, icon, or screenshots.
- Do not use images or music you do not have the right to use.
- Do not collect data you do not need, and do not hide what you collect.
- Do not show ads that block the main button or trick users into tapping.
- Fix crashes before you submit. A reviewer will not fix your app for you.
If your app is rejected, read the rejection message slowly. Fix that exact problem. Do not resubmit the same broken build and hope for a different result.
Step 6: Connect AdMob, Facebook Ads, and Unity Ads
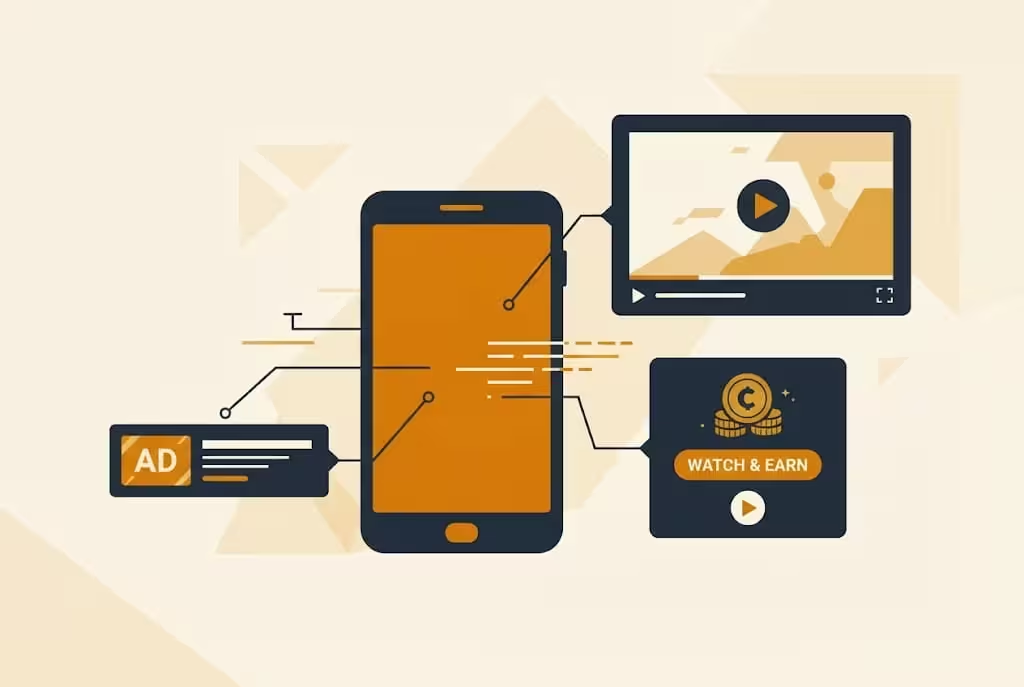
Ads are how a free app earns. Users get the app free. Advertisers pay to show ads inside it. You get a share.
You do not need all three networks on day one. Start with one, learn it, then add the others with mediation. Mediation is a simple idea: instead of asking only one ad network for an ad, your app asks several networks, and the best paying ad wins. That can raise your earnings without adding more ads.
AdMob, the best start for most tool apps
AdMob is Google's ad network for mobile apps. Think of it as AdSense for apps.
- Step 1: Create a free AdMob account at https://admob.google.com with your Google account. Fill in your name, country, time zone, and payment profile. You will need identity verification before payout.
- Step 2: Add your app in AdMob. If your app is already live on Play, link it from the store. If it is not live yet, add it manually with the package name.
- Step 3: Create ad units. An ad unit is one place in your app where an ad can show. Create one ad unit for each format you want.
- Step 4: Put the AdMob App ID and Ad Unit IDs into your app or converter. If you use a converter with AdMob support, paste the IDs in the converter settings. If you build in code, add the Google Mobile Ads SDK and use the IDs in code.
- Step 5: Use test ads while you build and test. Never click your own live ads. Never ask friends to click your ads. Google calls this invalid activity, and it can limit or close your account. Test with test IDs only.
- Step 6: Add an app-ads.txt file on your website. This file tells advertisers that you own the app and that you allow AdMob to sell ads for it. Do not skip it if AdMob asks for it.
Ad formats in simple words:
- Banner: a small ad at the top or bottom of the screen. It stays visible while the user uses the app. It earns less per view, but it is steady.
- Interstitial: a full screen ad that shows at a natural break, such as after a workout finishes or after a level ends. It earns more than a banner, but do not show it too often.
- Rewarded: a video ad the user chooses to watch to get a reward, such as extra coins, an extra life, or a premium feature for a short time. This is the friendliest ad type, because the user chooses it.
- Native: an ad that looks like part of your app content. Use it carefully, and always label it as an ad.
- App open: an ad that shows when the user opens the app. Use it rarely, or users will get annoyed.
Facebook Ads, through Meta Audience Network
Facebook Ads for apps usually means Meta Audience Network. This network lets Meta advertisers show ads inside third party apps, not only inside Facebook and Instagram.
In simple steps: create a Meta business account and open Monetization Manager, add your app, create placements for banner, native, interstitial, or rewarded video, and connect the Meta SDK or use mediation. Your earnings are tracked in Monetization Manager, and payment details are set there.
Do not rely on Meta alone. Meta policies for data consent and ad frequency have become stricter, and ad earnings can change fast. Use Meta as a second network inside mediation, next to AdMob. That way, if one network pays less for a week, the other can fill the gap.
Check the current Meta docs before you publish, because Meta has closed some older placements, such as mobile web placements, while app placements remain the main path for app publishers.
Unity Ads, the best fit for games
Unity Ads is made for games. If your app is a game, this network feels natural.
In simple steps: create a Unity ID, create a project in the Unity Dashboard, turn on Monetization, and create ad units. You will get a Game ID and Placement IDs. For a game, use rewarded ads for extra coins or lives, interstitial ads between levels, and a banner only if it does not cover game controls.
Unity LevelPlay is Unity's mediation tool. It can combine Unity Ads with AdMob and other networks in one place. For a game, start with Unity Ads, then add AdMob through mediation once your game has steady players.
For a tool app, AdMob is usually the better first network. For a game, Unity Ads is usually the better first network. For both types, mediation later is better than one network alone.
Where to place ads so users do not leave
- Banner at the bottom, away from buttons. Never put a banner right next to a tap button, because accidental taps hurt your account.
- Interstitial only at a natural break. After a task is done, after a level ends, or when the user moves to a new screen. Never show a full screen ad on every tap.
- Rewarded only when the user taps to watch. Always give the reward after the video finishes. Never promise a reward and then fail to give it.
- One ad at a time is enough. More ads do not always mean more money. Too many ads make users delete the app, and then you earn zero.
Step 7: How earning really starts
Publishing is not the finish line. It is the start line.
Your app earns when real people download it, open it again, and see ads in a natural way. That means you need downloads and retention. Retention is a simple word for this question: do users come back tomorrow?
Work on your store listing like a shop window:
- A clear icon that shows what the app does in one glance.
- Screenshots that show the main feature, not a wall of text.
- A short description that says the benefit in the first two lines.
- The right keywords in the title and description, without stuffing keywords in a fake way.
- Honest ratings. Ask happy users to rate the app inside the app, after they finish a task. Do not buy fake ratings or fake downloads. Stores and ad networks can detect that, and it can close your account.
Share your app where your users already are. Make a short video that shows the app solving one problem in 30 seconds. Post it on Instagram, TikTok, Facebook, and YouTube Shorts. Link the store page, not a random file download. Answer comments. Fix the top complaint in the next update. Users stay when they feel heard.
Update your app often, but only with real improvements. A small update that fixes a crash is better than a big update that adds ten broken features.
A realistic view: your first app may earn very little in the first month. That is normal. Your second app will be better because you already know the full path. Your third app can be much better because you know what users want. The people who earn thousands did not start with thousands. They started with one working app, learned from real users, and kept going.
Keep records from day one. Save your store fees, your converter fees, your AdMob reports, and your payouts. All earnings are before tax. Tax rules depend on your country, so check local rules or ask a tax professional when your earnings grow.
Common mistakes that kill a new app
- Clicking your own ads, or asking friends to click them. This is the fastest way to lose an AdMob account.
- Copying another app, its name, or its content. Stores reject copies, and users do not trust them.
- Making an app that is only a website with no app features. Add push, navigation, offline handling, and a clean mobile design.
- Showing too many ads on day one. Users delete an app that feels like an ad machine.
- Publishing a broken app. Test on a real phone. Fix crashes first.
- No privacy policy. Every app needs one, even if it collects no data. Ad SDKs collect data, so your policy must say that honestly.
- No plan for users. If no one knows your app exists, no ad network can save it.
Your simple 30 day plan
- Days 1 to 3: Pick one idea with low competition. Check Play Store, read reviews, and write your one line app idea.
- Days 4 to 7: Set up free domain, hosting, and AI tools. Write a simple plan for your app screens.
- Days 8 to 14: Build the website version with AI. Test it on your phone. Fix every broken button.
- Days 15 to 18: Convert it to an app. Test the APK. Add icon, splash screen, and basic app features.
- Days 19 to 24: Create your Play Console account if you do not have one. Start the closed test with 12 testers. Fix feedback fast.
- Days 25 to 30: Publish on Google Play. Add AdMob with test ads first, then live ads. Share a short demo video. Watch retention, not only downloads.
After day 30, add Meta and Unity Ads through mediation if your app fits them, and start your second improved version based on real user feedback.
Frequently Asked Questions
1. Do I need to know coding to make an app with AI?
No, not for your first simple app. AI can write the website code, and a converter can turn it into an app. You still need to test, fix, and understand what each part does. Basic learning helps a lot, but you do not need to be a professional coder to start.
2. Can I earn without publishing on a store?
You can share an APK file directly, but it is much harder to get trust and downloads. Stores give you search, trust, and updates. For most beginners, Google Play is the better path, even with the 25 dollar fee and the closed test.
3. Are AI made apps allowed on the stores?
Yes. Stores judge the app, not how the code was written. They reject broken apps, copied apps, and apps with no real function, whether a human or AI wrote the code.
4. Which ad network should I pick first?
For a tool app, start with AdMob. For a game, start with Unity Ads. Add the other networks later through mediation. For most beginners, one network done well is better than three networks done badly.
5. How much money do I need to start?
You can build and test for free with AI tools, free hosting, and free converters. To publish on Google Play, you need 25 dollars one time. To publish on the App Store, you need 99 dollars per year. Start with Android if your budget is small.
6. Why is my app not earning after publishing?
Usually the reason is low downloads or low retention. Check your store listing, your screenshots, and your reviews. Fix the main complaint. Share a clear demo video. An app with 10 users cannot earn like an app with 10,000 users, no matter which ad network you use.
Final words
AI has made app making feel like a game, but earning still needs real work. Pick a small problem. Build a simple app that solves it well. Publish it the right way. Add ads in a fair way. Listen to users. Improve it.
Do not chase ten ideas at once. Finish one app. Learn from it. Then make the next one stronger. That is how small apps turn into real income over time, one user and one update at a time.
Disclaimer: Ad earnings are not guaranteed. They depend on users, retention, country, ad format, and advertiser demand. All amounts in this guide are before tax. Store fees, ad policies, and tool prices can change. Always check the official pages linked in this guide before you pay, publish, or connect an ad network.
Share this article
Link copied to clipboard!