

Google AdSense has changed many lives. It is not only for YouTube channels. It also works for websites. When you attach a website to AdSense and start earning from ads, that work is called blogging.
In simple words, you make a helpful website. People visit it. Google shows ads on your pages. When those ads earn money, Google shares a part with you. You do not sell anything. You earn from attention and traffic.
But approval is not as easy as it used to be. I want to be honest with you about why.
A few years ago, fewer people were applying, and the review felt simpler. Then AI tools became very popular, especially after ChatGPT. Many people started making bulk content with AI. They did not study the topic. They did not check if the information was right. They just asked an AI tool to write on any trending topic and published it fast.
Think of it like this. If earlier 100 websites applied for approval, now, as an example, 300 websites apply. Many of them are low quality, copied, or made in bulk without real value. So Google made its checks stricter. This is not a problem for a person who focuses on quality. It is only a problem for a person who wants a shortcut.
Do not worry. In this post, I will tell you what to do and what not to do. Follow it step by step, and your chances become much better.
1. Who Can Apply for AdSense
Before you start, check these basic points.
- You must be 18 years old or older to hold your own account.
- You must own the website, or have full control over it.
- Your website must be open to everyone. It should not ask visitors to log in just to read your main content.
- Your content must follow AdSense policies. That means no copied content, no adult content, no hate content, no misleading claims, and no content that breaks the law.
If your site is still under construction, with empty pages and broken links, do not apply yet. Finish it first.
2. Pages You Must Have on Your Website
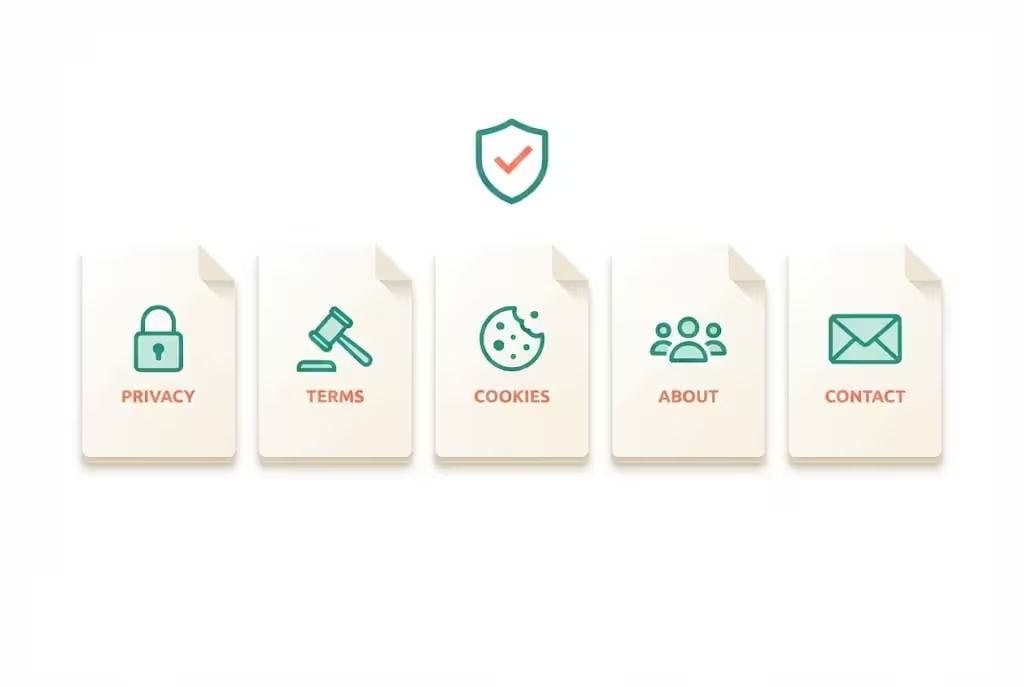
These pages build trust. A reviewer, and a normal visitor, both check them.
Privacy Policy. This page tells visitors what data your site collects, for example through cookies or analytics, and how you use it. This page is very important for AdSense.
Terms and Conditions. This page tells visitors the basic rules of using your site.
Cookie Policy. This page explains that your site uses cookies, and what cookies do. On many sites, this can be a short section inside the Privacy Policy, but a separate page looks more professional.
About page. Tell who you are, what your site is about, and why you made it. Write it in your own words. Do not copy it from another site.
Contact page. Give a real way to contact you, for example a contact form and an email address. A site with no contact page looks fake.
Without these pages, approval becomes very hard. Even without AdSense, a good website needs them, because they show that a real person is behind the site.
3. Categories and Posts: Make Your Site Look Complete
A site with only 2 or 3 posts looks empty to a reviewer. My practical suggestion is this. Make at least 4 categories on your website. In each category, publish 4 to 5 good posts. That gives you around 16 to 20 posts in total, and your site starts to look complete.
This is not an official AdSense rule. AdSense does not publish a fixed number of categories or posts. But a complete site is much easier to review than an empty site. A reviewer can see that you are serious, and that you cover your topic properly.
Choose categories that fit one main topic. Do not mix everything. If your site is about blogging and earning, keep your categories around that topic. A focused site is easier to trust than a random site.
4. Content: Quality Matters More Than Quantity
AdSense does not publish a fixed word count. But in my experience, thin content is one of the biggest reasons for rejection. A post with only 100 words and no real answer will not help anyone.
I suggest at least 800 to 1000 words for a main article. Not because a number magically gets approval, but because a good answer usually needs that much space. You need room to explain the problem, give steps, give an example, and answer common questions.
Use images in your posts, but use them in the right way. One or two relevant images in an article are enough. The text must still carry the main value. Do not make a post that is only images with almost no text. And do not copy images from Google. Use your own images, or images you have the right to use. Compress your images so your pages load fast.
Most important, do not copy and paste. Do not duplicate content from other sites, and do not publish the same article twice on your own site with small changes. Google can detect copied content easily. Write in your own words, even if your English is simple. Simple and original is much better than fancy and copied.
Focus on the image to text ratio in a simple way. Your page should be mostly helpful text, with images that support the text. Images should help the reader understand, not replace the answer.

5. Research Before You Write
Before you start a website, please research your topic. Even basic knowledge helps a lot. When you know the basics, you can tell if AI wrote the right thing or the wrong thing. When you know nothing, you will publish mistakes without knowing it.
Read a few good sources. Understand the main points. Then write the post in your own words, in your own order. This one habit will save you from many low quality problems.
6. Speed, Design, and Theme
Your website should load fast. A slow site frustrates visitors, and it also hurts your ranking. Use a light theme. Compress images. Do not add too many heavy plugins or animations that slow the page.
Select a professional theme and a clean color scheme. Pick 2 to 3 colors and use them on the whole site. A clean site looks trustworthy. A messy site with many colors, popups, and ads everywhere looks like spam, even before AdSense ads are added.
Check your site on mobile. Most visitors will come from a phone. If your text is hard to read on mobile, or buttons do not work, fix that before you apply.
7. Do Not Publish Everything in One Day
This is a common beginner mistake. Do not publish all your posts in one day. It looks unnatural, and it also means your site has no history.
Post 1 to 2 posts per day at most. Take your time. Write, check, improve, then publish. A steady pace looks natural, and it also helps you keep quality high.
In the same way, do not apply on the first day you make your site. My suggestion is to let your site become at least 20 days old, and let each main article be at least 7 days old before you apply. Again, this is not an official AdSense rule. It is practical advice. It gives Google time to find and index your pages, and it shows that your site is not a one day project.
After your content is complete, I suggest you wait 20 days, keep checking your site, fix small errors, and then submit it. Patience here is better than rushing and getting rejected.
8. List Your Pages in Google Search Console
Google Search Console is a free tool from Google. It helps Google find your pages. Add your site there. Submit your sitemap. Check for errors, broken links, and mobile problems, and fix them.
Listing your pages does not guarantee approval. But it helps Google see your site properly. A site that Google cannot find or cannot read will struggle in review.
Also check these small technical points. Your site should have no broken links. Your navigation menu should work. Your pages should open correctly. Your site should use HTTPS, which is the secure version of your site address. Most good hosting plans give this for free.
9. How to Apply, Step by Step
When your site is ready, follow these steps in order.
- Create a Google AdSense account with the Google account you want to use for payments.
- Add your website address in AdSense.
- AdSense will give you a small code. Paste that code into your website, usually in the header section, so Google can verify that you own the site.
- Submit your site for review.
During review, keep your site live and keep publishing good content. Do not make big changes to your site structure during review if you can avoid it. Do not remove your main pages. Review can take days, and sometimes weeks. Be patient.
If you get approved, you can then place ad units on your pages. Do not click your own ads. Do not ask friends or family to click your ads. That is called invalid activity, and it can get your account limited or banned.
10. Common Rejection Reasons and How to Fix Them
This is the part most people skip, and then they repeat the same mistake. Read this table carefully.
| Rejection reason | What it usually means | What to fix |
|---|---|---|
| Low value content | Your content is thin, copied, or does not help the reader | Rewrite your posts in your own words, add real detail, examples, and answers, remove thin and copied posts |
| Site navigation or under construction | Your site is incomplete, hard to use, or has empty pages | Finish all pages, fix your menu, remove empty categories, fix broken links |
| Policy violation | Your content breaks AdSense rules | Remove the problem content, check for adult, copyrighted, or misleading content, and read the policy email carefully |
| Duplicate account | You already have an AdSense account for the same person | Do not make a second account, fix the first account and reapply from it |
| Site down or not accessible | Google could not open your site during review | Check your hosting, fix errors, make sure your site loads for everyone, not only for you |
When you get a rejection, do not panic and do not apply again the same day with no changes. Read the reason in your AdSense email. Fix that problem properly. Then reapply. If the problem was low value content, you need to improve your content first. A new application with the same weak content will get the same result.
11. The Duplicate Account Problem, Explained Clearly
AdSense allows one account per person. That means one payee, one account. Do not try to make a second account because the first one was rejected. A rejection does not mean you need a new account. It means you need to fix your site and reapply from the same account.
Using the same device for many different accounts can also raise a flag, so keep it simple. Use one account, with your real name and your real details.
For your address, use your real home address, the address where you can receive mail. If your street is not on Google Maps, that is okay. Write your full postal address correctly, as it appears on your official documents or postal mail. Do not use a nearby shop, a landmark, or a popular place as your home address. AdSense sends a PIN by post to verify your address. If the address is not yours, you may never receive that PIN, and your payment can get stuck.
12. After Approval, What Not to Do
Approval is not the end. It is the start. After approval, follow these rules.
Add your ads.txt file. AdSense gives you a small line to put in a file at the root of your site. This file helps advertisers trust your site.
Place ads in clean places. Do not cover your content with ads. Do not place ads in a way that tricks people into clicking by mistake.
Never click your own ads, and never ask others to click them. Never buy fake traffic. Google can detect invalid traffic, and it can limit your account.
Keep publishing. A site that stops after approval can lose traffic slowly. Keep adding helpful posts, and keep your old posts updated.
About payments, in simple words, AdSense has two important points, and they can vary by country and currency. First, identity verification and PIN verification usually unlock when your balance reaches 10 dollars. Second, the payment threshold is usually 100 dollars. That means you get paid after your verified balance reaches that threshold. Do not expect payment in the first week. Focus on traffic and quality first.
13. Final Checklist Before You Apply
Use this checklist as your last check.
- Your site has Privacy Policy, Terms, Cookie Policy, About, and Contact pages.
- Your site has at least 4 categories, with 4 to 5 good posts in each.
- Your posts are original, helpful, and at least 800 to 1000 words for main articles.
- Your images are relevant, original or licensed, and compressed.
- Your site loads fast and works well on mobile.
- Your site has a clean theme and a simple color scheme.
- You did not publish everything in one day.
- Your pages are listed in Google Search Console, with no major errors.
- Your site is at least 20 days old, and your main articles are at least 7 days old.
- You have one AdSense account, with your real details and real postal address.
If you can tick all of these, you are ready to apply. If you cannot tick 2 or 3 of them, fix those first. A few more days of work is better than a rejection and a long wait.
Final Words
AdSense is still a real opportunity in 2027, but only for real websites. It is not for bulk low quality content, and it is not for shortcuts. If you focus on quality, write in simple words, help a real reader, and keep your site clean and complete, you have a strong chance.
Start with quality. Be patient. Fix rejections properly. That is the whole secret, and it has not changed, even in the AI era.
Disclaimer: This guide is for education only. AdSense rules, review times, and payment thresholds change over time and can vary by country and currency, so check the official AdSense pages before you apply. Following a checklist does not guarantee approval. All figures in this guide are general guidance, not promises, and are shown before tax where relevant.
Frequently Asked Questions
1. How many posts do I need before AdSense approval?
AdSense does not publish a fixed post count. As a practical plan, aim for around 16 to 20 good posts across at least 4 categories, so your site looks complete and easy to review.
2. How long should my website be before I apply for AdSense?
There is no official minimum age published by AdSense. As practical advice, let your site become at least 20 days old and your main articles at least 7 days old, so Google has time to find and index your pages.
3. What is low value content in AdSense?
Low value content usually means thin, copied, or unhelpful content that does not answer the reader properly. Fix it by rewriting posts in your own words, adding real detail and examples, and removing thin or copied posts.
4. Can I create a second AdSense account after a rejection?
No. AdSense allows one account per person. Do not make a second account after a rejection. Fix your site and reapply from the same account.
5. What address should I use for AdSense verification?
Use your real postal address where you can receive mail. AdSense sends a PIN by post. Do not use a nearby shop or landmark as your home address.
6. How long does AdSense review take?
Review can take days, and sometimes weeks. Keep your site live and keep publishing good content during review, and avoid big structural changes if you can.
7. Can I click my own AdSense ads?
No. Never click your own ads, and never ask friends or family to click them. That is invalid activity and it can limit or ban your account.
8. When do I get paid from AdSense?
Identity and PIN verification usually unlock when your balance reaches 10 dollars, and the payment threshold is usually 100 dollars. Thresholds can vary by country and currency, so check your AdSense account for your exact threshold.
Share this article
Link copied to clipboard!