Why Compressed Images Improve SEO & How to Do It Right

In today's visually-driven web, images account for over 50% of a typical webpage's total weight. Unoptimized images slow down your site, frustrate users, and hurt your search rankings. Properly compressed images, on the other hand, can significantly boost your SEO performance while maintaining visual quality.
This comprehensive guide will explain why image compression matters for SEO and show you exactly how to optimize your images for maximum performance without sacrificing quality.
Key Takeaway: Properly compressed images can improve your page speed by 30-50%, directly impacting your search rankings, user experience, and conversion rates.
Why Image Compression is Critical for SEO
Search engines, particularly Google, consider page speed as a ranking factor. Since images make up the majority of page weight, optimizing them has an outsized impact on performance. Here's how compressed images improve your SEO:
1. Faster Page Load Times
Compressed images load faster, improving your Core Web Vitals metrics like Largest Contentful Paint (LCP) which Google uses to rank pages. A 1-second delay in page load time can result in:
- 11% fewer page views
- 16% decrease in customer satisfaction
- 7% reduction in conversions
2. Improved Mobile Performance
With mobile-first indexing, Google prioritizes how your site performs on mobile devices where network conditions are often slower. Compressed images ensure your mobile users get a fast experience.
3. Reduced Bandwidth Usage
Smaller image files consume less bandwidth, which is especially important for users on limited data plans or slow connections. This improves user experience and reduces bounce rates.
4. Better Crawl Budget Utilization
Search engine bots can crawl and index your content more efficiently when pages load quickly, ensuring your new content gets discovered faster.
5. Enhanced User Experience
Fast-loading pages keep users engaged, reducing bounce rates and increasing time on site - both indirect ranking factors.
Image Compression Basics: Lossy vs Lossless
Understanding the different compression methods will help you choose the right approach for your images:
✅ Lossy Compression
- Permanently removes some image data
- Can achieve 60-90% file size reduction
- Best for photographs and complex images
- Formats: JPEG, WebP (lossy), AVIF (lossy)
❌ Lossy Limitations
- Quality degradation at high compression
- Not suitable for images requiring perfect reproduction
- Artifacts become noticeable when re-saving
✅ Lossless Compression
- Preserves all original image data
- Typically achieves 20-50% reduction
- Best for graphics, logos, and images with text
- Formats: PNG, WebP (lossless), GIF
❌ Lossless Limitations
- Larger file sizes than lossy
- Not as effective for photographs
- Limited compression ratios
Drag the slider to compare uncompressed (left) vs compressed (right) versions. Can you spot the difference?
Choosing the Best Image Format for SEO
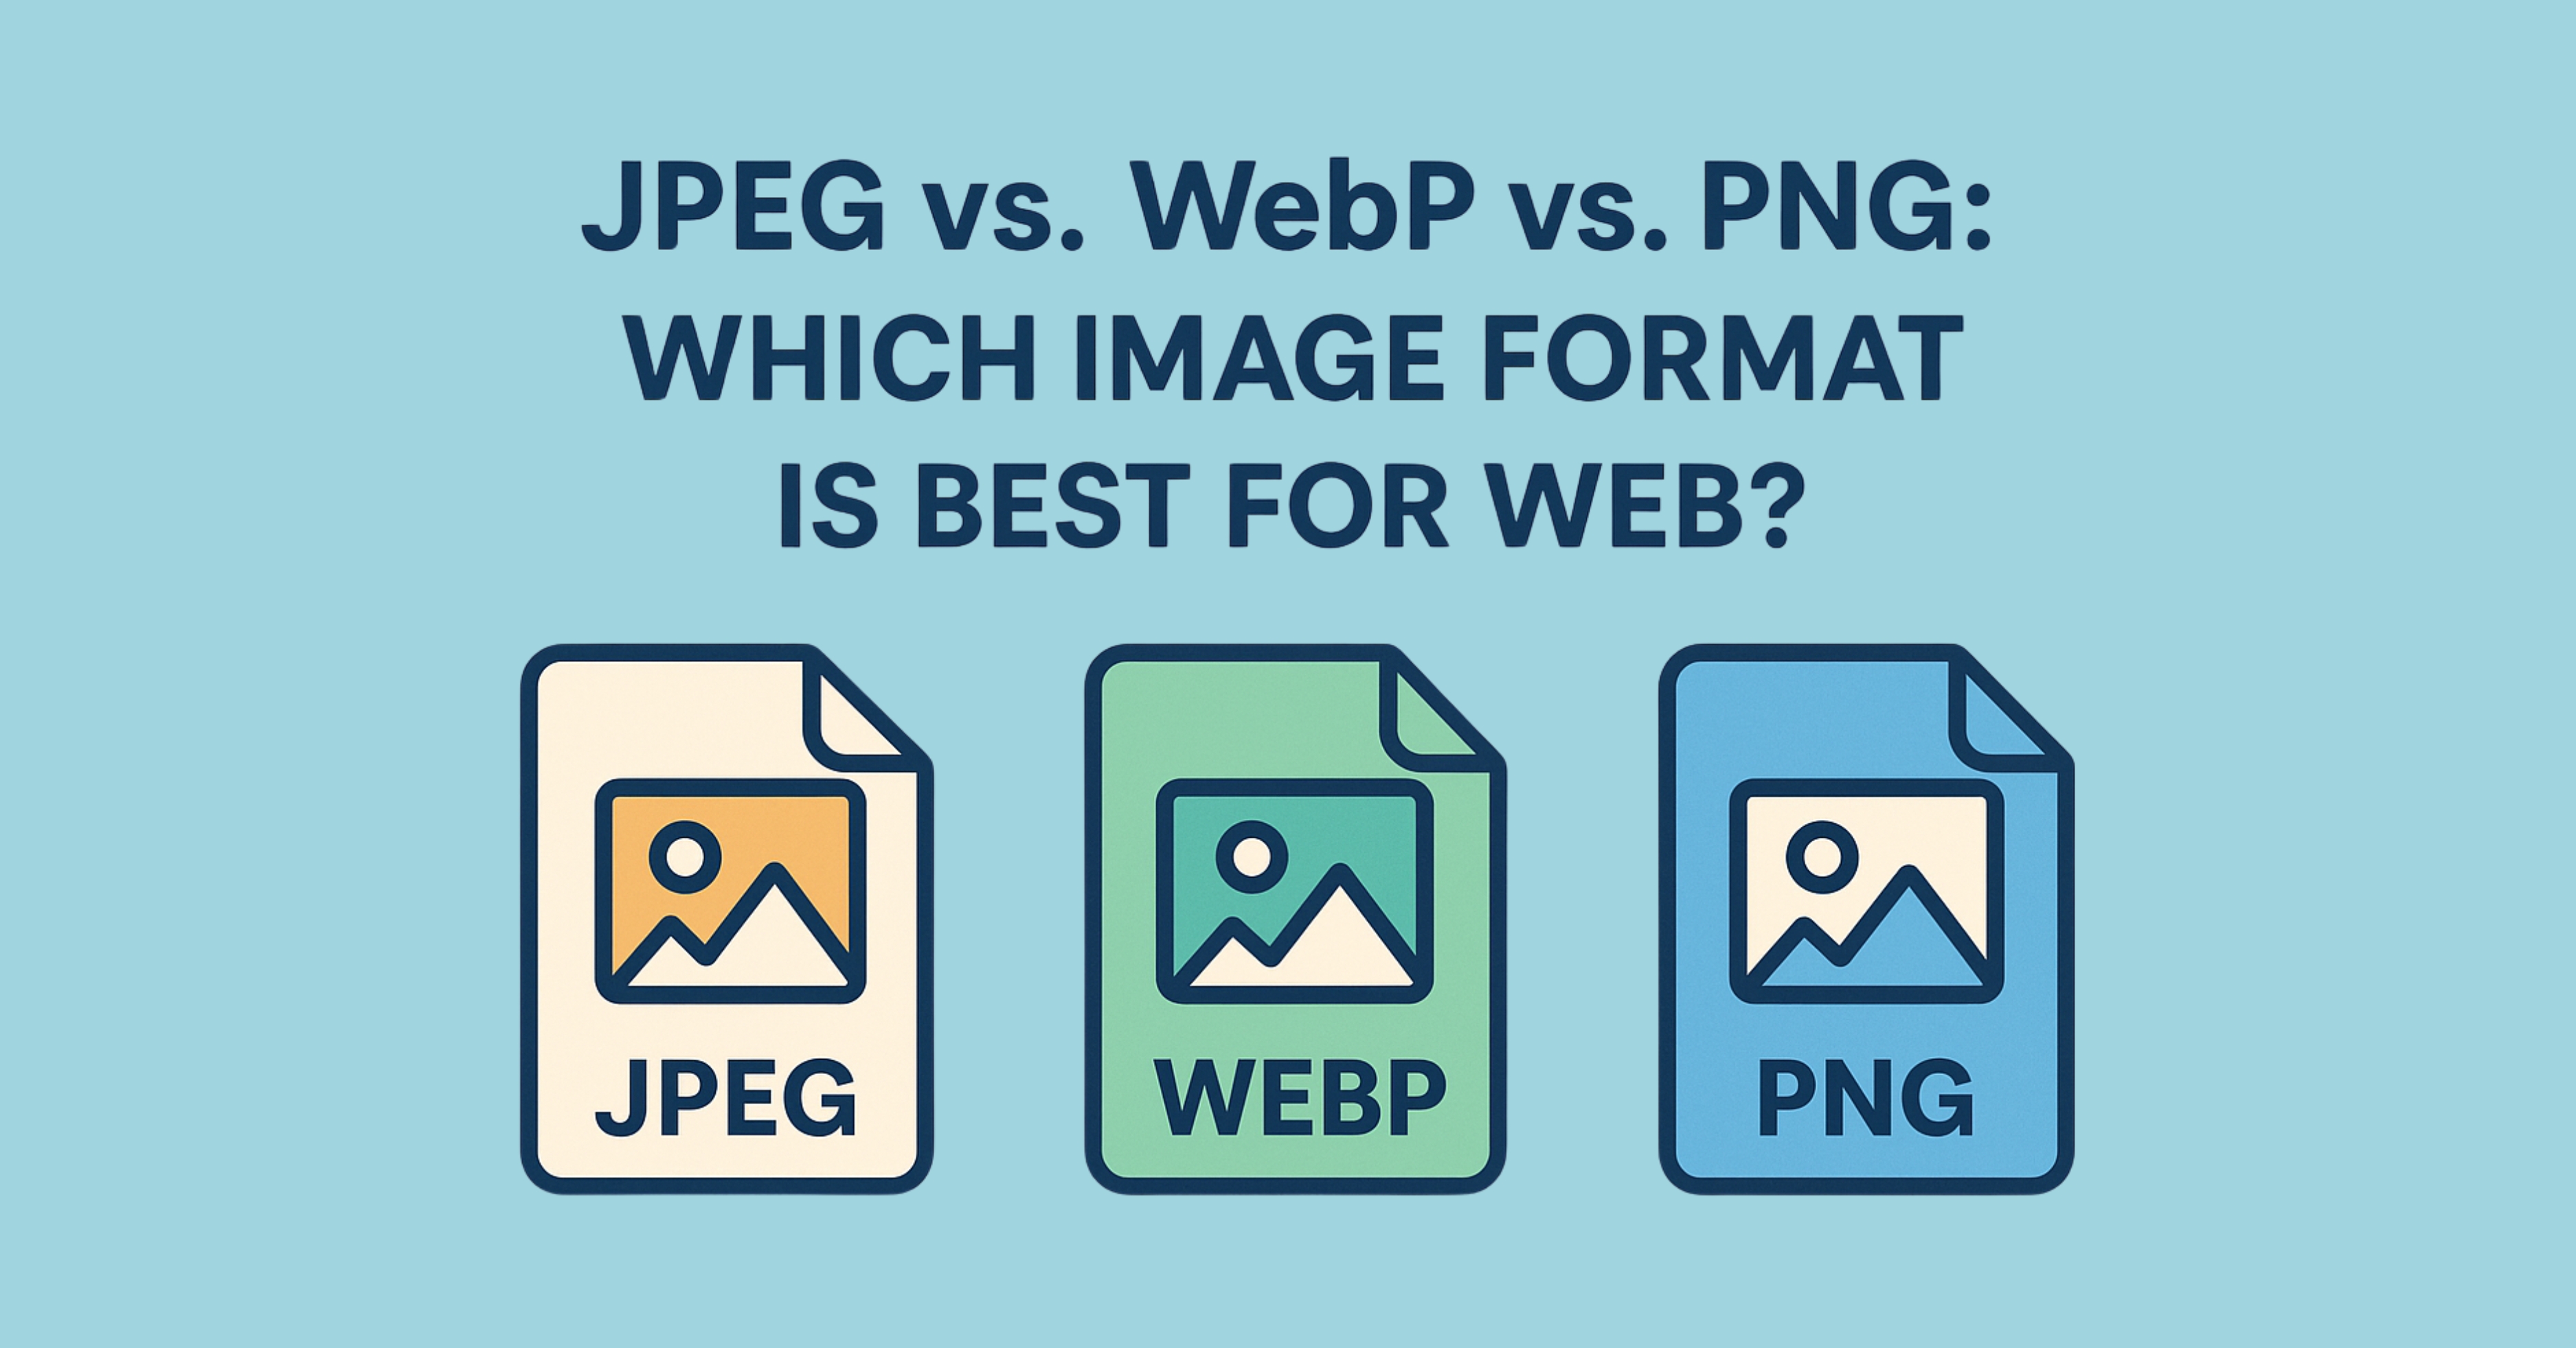
The format you choose significantly impacts both quality and file size. Here's a breakdown of the best options:
Image Format Comparison for Web (2025)
| Format | Best For | Compression | Transparency | Browser Support |
|---|---|---|---|---|
| WebP | All web images | Lossy/Lossless | Yes | All modern browsers |
| AVIF | High-quality images | Lossy/Lossless | Yes | Modern browsers |
| JPEG | Photographs (fallback) | Lossy | No | Universal |
| PNG | Graphics with transparency | Lossless | Yes | Universal |
Pro Tip: WebP provides 25-35% smaller files than JPEG at similar quality levels while supporting transparency. It's the best all-around choice for web images in 2025.
How to Properly Compress Images for SEO
Follow this step-by-step process to optimize your images for maximum SEO benefit:
Step 1: Choose the Right Format
Photographs: WebP (lossy) → JPEG fallback
Graphics with transparency: WebP (lossless) → PNG fallback
Simple graphics: SVG when possible
Step 2: Resize Images Before Compression
Never upload images larger than their display size. For example:
- Blog content images: 800-1200px wide
- Hero images: 1920px wide (for retina displays)
- Thumbnails: 300-400px wide
Step 3: Apply Appropriate Compression
Use these quality settings as starting points:
- WebP (lossy): 75-85 quality
- JPEG: 70-80 quality
- PNG: Use lossless compression tools
Step 4: Implement Responsive Images
Use srcset to serve appropriately sized images:
<img src="image-small.webp"
     srcset="image-small.webp 480w,
             image-medium.webp 1024w,
             image-large.webp 1600w"
     sizes="(max-width: 600px) 480px,
            (max-width: 1200px) 1024px,
            1600px"
     alt="Responsive image example">
Step 5: Lazy Load Offscreen Images
Use native lazy loading for better performance:
<img src="image.webp" loading="lazy" alt="Lazy loaded image">Best Image Compression Tools for SEO
These tools will help you achieve optimal compression with minimal quality loss:
Squoosh (by Google)
Free online tool with advanced compression controls for WebP, MozJPEG, and AVIF formats. Allows visual comparison of different settings.
Visit Squoosh.app →ShortPixel
Cloud-based image optimizer with API and WordPress plugin. Offers lossy, glossy, and lossless compression with bulk processing.
Visit ShortPixel →ImageOptim (Mac)
Desktop application that combines multiple optimization tools with a simple drag-and-drop interface. Great for batch processing.
Download ImageOptim →WebP Converter
Command-line tool for converting images to WebP format with precise control over compression settings.
Learn about cwebp →Image Optimization for WordPress
WordPress users can automate much of the optimization process with these plugins:
✅ ShortPixel Image Optimizer
- Converts to WebP automatically
- Offers multiple compression levels
- Can optimize existing media library
- CDN integration available
✅ Imagify
- Created by WP Rocket team
- Three compression levels
- Bulk optimization
- Free plan available
✅ EWWW Image Optimizer
- Unlimited file sizes
- Works with local/server tools
- WebP conversion
- No monthly limits
✅ WP Smush
- By WPMU DEV
- Lazy loading included
- Bulk smush existing images
- Free version available
Advanced Image Optimization Techniques
1. Content Delivery Networks (CDNs)
CDNs like Cloudflare, Bunny.net, or Cloudinary can automatically optimize and serve images in modern formats based on the user's browser.
2. Adaptive Image Serving
Serve different image qualities based on network conditions using the Network Information API:
if (navigator.connection.effectiveType === '4g') {
    img.src = 'image-high-quality.webp';
} else {
    img.src = 'image-low-quality.webp';
}
3. Progressive JPEGs
Progressive JPEGs load in multiple passes, providing a better user experience than baseline JPEGs, especially on slow connections.
4. SVG Optimization
For logos and simple graphics, use SVG format and optimize with tools like SVGO to reduce file size while maintaining crisp quality at any resolution.
Common Image Optimization Mistakes to Avoid
1. Over-Compression
Aggressive compression that visibly degrades image quality can hurt user experience and conversions. Always visually check compressed images.
2. Ignoring Mobile Users
Serving desktop-sized images to mobile users wastes bandwidth. Implement responsive images with srcset.
3. Forgetting Alt Text
Search engines can't "see" images. Always include descriptive alt text for SEO and accessibility.
4. Using PNG for Photographs
PNG is terrible for photographic content. Use WebP or JPEG instead for much smaller file sizes.
5. Not Monitoring Performance
Regularly check your image optimization results using Google's PageSpeed Insights or Lighthouse.
Measuring the SEO Impact of Image Optimization
After optimizing your images, track these metrics to measure improvement:
Key Performance Metrics
| Metric | Tool to Measure | Target |
|---|---|---|
| Largest Contentful Paint | PageSpeed Insights | < 2.5s |
| Total Page Weight | Chrome DevTools | < 1.5MB |
| Image Bytes Saved | Before/After Comparison | 50%+ reduction |
| Mobile Page Speed | Lighthouse | 80+ score |
| Bounce Rate | Google Analytics | Decreasing trend |
Frequently Asked Questions
How much can image compression improve my page speed?
Proper image optimization can typically improve page load times by 30-50%, depending on how many images your page contains and how they were originally optimized.
Is WebP really better than JPEG for SEO?
Yes, WebP provides significantly better compression than JPEG (25-35% smaller files at similar quality) while supporting advanced features like transparency. This directly improves page speed, which is a ranking factor.
Should I compress images before or after uploading to my website?
For best results, compress images before uploading using dedicated tools. This gives you more control over the quality and avoids double-processing by CMS plugins.
How do I know if my images are properly optimized?
Use Google's PageSpeed Insights tool - it will identify images that need optimization and estimate how much you could save by compressing them further.
Can image optimization hurt my SEO?
Only if done incorrectly. Over-compression that makes images look bad can increase bounce rates. Always check compressed images visually before deploying.
Final Thoughts on Image Compression for SEO
Image compression is one of the most impactful yet often overlooked SEO techniques. By properly optimizing your images, you can:
- Improve page load times by 30-50%
- Boost Core Web Vitals scores
- Enhance user experience across all devices
- Reduce bandwidth costs for you and your visitors
- Increase search rankings through better performance metrics
The best approach combines the right file formats (preferably WebP), proper sizing, quality compression settings, and implementation techniques like responsive images and lazy loading. Start with your most visited pages and high-traffic images, then gradually optimize your entire site.
Ready to optimize? Try our free image compression tool to quickly reduce your image file sizes while maintaining quality.


Leave a Comment